Bokeh is the Japanese word for “blur”, as I understand it. It’s used by photographers to describe the way the out-of-focus parts of an image appear. Some photographers care very much how the out-of-focus parts of their images appear. (Mike Johnston, who now runs The Online Photographer, had a lot to do with popularizing the usage with English-speaking photographers.)

This appearance is determined by the distance the lens is focused at, the distance of the object that’s out of focus, the actual appearance of the object, and the design of the lens.  The example that was widely known among photographers was the “doughnut-shaped” highlights produced by mirror lenses (like the famous Spiratone 500mm / f8). These are caused by the secondary mirror, which is mounted at the front of the lens and blocks some of the light coming in.
This article, among others, pointed out that one could use a mask in front of the lens to control the shape of these out-of-focus highlights. I decided this was possibly interesting, worth playing with.
 Making Masks
Other people seem to use this thin, opaque, black paper that I’ve never seen in the real world (probably the right art supply store would have it). I tried using card stock, and card stock with black tape on the back (to make it more opaque), and I also tried photo paper printed with black ink (by printing the mask surround in black, leaving the mast white, I made a good guide for cutting out the mask). Except for the taped card stock, none of these were all that opaque, but they might well be opaque enough.


I imagine that, with practice, I would get better at the part where I actually have to cut out the shape in the mask. At least, other people have! (I’m not especially prone to cutting my own fingers, anyway; so it’s not dangerous, merely somewhat annoying.)
I’m making these as 67mm squares, so that they’ll fit into a Cokin series A filter holder. I feel like this is kind of clever, really; it’s much easier than making my own slip fitting to hold the mask to the lens, the way the first article I linked does it.
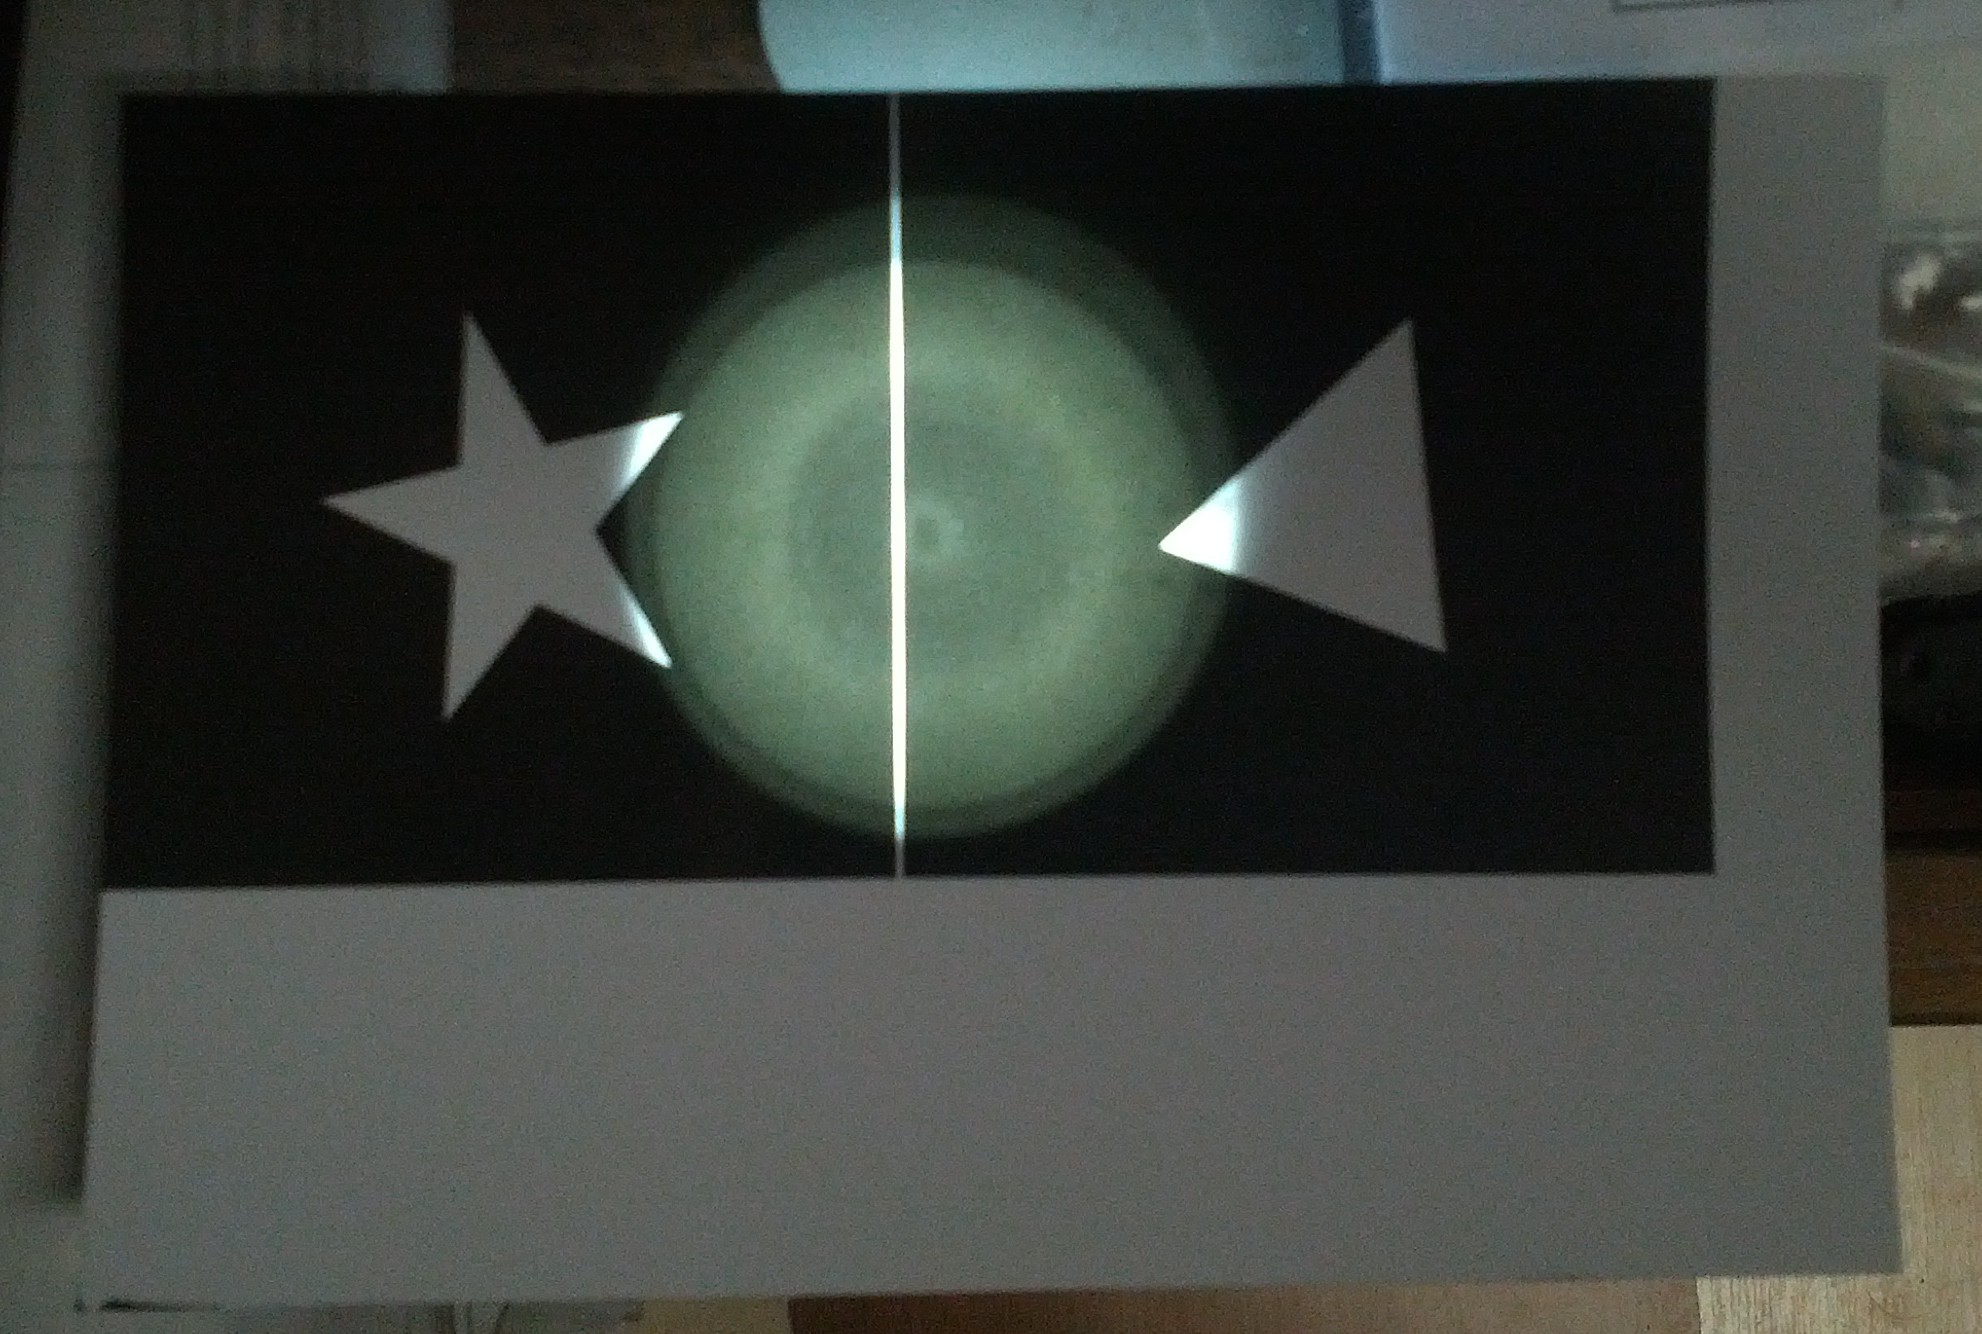
The size of the cutout matters. My first try, which is what’s illustrated here, were too big. I did another set less than half the size that worked better. My current rule of thumb is that it seems to work okay when the cutout is vaguely half the diameter of the front lens element, but I haven’t experimented enough to know how this will hold up. When the cutout is too big, the shaped highlights off-axis are incomplete.


For my abilities at drawing and cutting, preparing the masks in Photoshop and then printing them onto the final paper before trying to cut them is a good approach. It limits my chances to mess it up, and makes it easy to produce another one if necessary, and to produce them consistently to standard sizes.
My next step, when I think I’ve worked out what mask size I really want, and how to set up a set that displays the bokeh usefully, will be to try printing masks directly to inkjet transparency material. That eliminates the cutting entirely−and makes possible the use of designs too complicated or too fine for me (or even other people) to cut out. We shall see!
Using the Mask
The illustrations above are from about my third attempt; by then I’d constructed a cardboard sheet with holes carefully made in it and a well-lit white panel behind it, so the holes showed bright.  In the small example shown, the camera was maybe a foot from the key, and the sheet with the holes was about 18 inches behind the key.  The lens was an Olympus 60mm f2.8 macro on an Olympus OM-D EM-5. A wider aperture would have worked better, but working at this small size required the close focus of the macro lens.
It takes a fairly carefully set up shot to really exploit this effect. You need highlights that are sufficiently distinct from other detail to show as unique objects, and you need them sufficiently out of focus to render them as nice simple disks (or hexagons; depends on your lens) without a mask. (I’m not going to write an essay on focus and depth of field; if you don’t already know, look it up elsewhere).
Here is a pair of photos, without and with a mask, showing that if the highlights aren’t making clear obvious circles without a mask, when you add a mask, you won’t see its shape in the resulting image. (The mask also darkens the overall image; not surprising since it’s blocking a lot of light from entering the lens.)


So I set up a larger and more drastic set to demonstrate bokeh control. In the end it looked like this (the hat on a light stand gives a rough idea of how big a human head would be at that distance).

This was rather nice; though I would have wanted to light the human subject more if I’d had one!


I’ve spent a lot of three days playing with this, ordered additional adapters from an Ebay seller and from B&H, borrowed LED Christmas lights from Corwin, and made a lot of improvised background and support gear. But at least I’ve got some tolerable initial results.

What Now?
My best test results above could probably be reproduced fairly easily in Photoshop. Exactly would be hard, but I wonder how many people would notice the difference. (The dimmer set of highlights, which are reflections from a glass door behind the lights, for example, might not occur to somebody simulating the effect.)
In video, however, camera movement should make things a lot more exotic, since the details of each image will change based on the angle various key light rays enter the lens.
Finding or creating setups where this can be exploited is clearly non-trivial. I’ve got some band shoots coming up, though, where reflective objects abound, many light sources are in use, and adding something as drastic as Christmas lights wouldn’t be entirely out of place if necessary. Now, imagine masking that with some band-related graphics, a shape or even perhaps something too complex to cut printed onto overhead transparency sheets. Maybe?
