Darktable is a Unix-only free software product. So it’s not available for Windows. My evaluation was done using an Ubuntu Linux installation on a virtual machine. I assigned the VM 4GB of RAM and all 4 CPUs. Darktable makes heavy use of OpenCL (API to access the compute power of graphics cards for general use), which was not installed on my VM. So for a number of reasons I’m pretty sure the responsiveness seen in my tests would be considerably inferior to what one would see on a native Linux installation.
Darktable doesn’t seem to pick up lens or exposure information from the Olympus EPL-2. Images from the Fuji S2 are completely broken, the icy falls picture is mostly diagonal magenta stripes. Tried DNG later, better for EPL-2, not usable (but a visible image) for S2.
Darktable works in LAB space internally, using 4x32bit floating point numbers. (Why four? LAB is still a three-component model, just not the usual three.)
The user manual is notably good, which in my experience is rare for such specialized Open Source software.
Darktable’s basic setup is a stack of processing modules. You can, if you need to, alter the order of modules in the stack. You can also put modules into the stack multiple times, with different parameters.
Many modules support turning on “blending modes”, which mix the output with the input (using one of the myriad modes that GIMP and Photoshop love so much). “Off” means just use the output of the module, which is what some modules are best for. Using blending modes lets you get really lost really quickly, but I think this is something that would reward practice and study, and is very powerful. Mostly the modes blends just one aspect of the imput and output images (like lightness, or chroma, or hue), passing the other through.
If that’s not exciting enough, there’s also “conditional blending”. Module presets can be related to camera, lens, ISO, and exposure setting information. So, theoretically there’s a huge amount of power and control available here. I can say that ordinary editing doesn’t seem to need to call on it, which means you don’t have to hit that learning curve on day one.
There’s a rather interesting specialized bit of UI for slider-controlled number boxes. The mouse wheel works over the slider (which is a small target). Works semi-okay even in remote X running on a virtual machine. And an interesting right-click box that supports both typing numbers AND variable-precision mouse control (not drag-based; you click on the spot, with curves showing you roughly what each spot means).
Here’s the main editing window, with the right-click box open on the exposure slider.

It doesn’t seem that I can change where the filmstrip appears. Since modern monitors are overly-wide and far to short, it’s much better to take required (and I can’t find a way to make it go away, either) space-using elements to the sides, NOT top or bottom. (The basic editing area, when all the overhead is subtracted, needs to be square; otherwise, either horizontal or vertical pictures are at a disadvantage.)
Specific Issues
Crop and Rotate
The “guides” selections give you a wide choice of cropping guides visible during the drag. However, I can’t find a way to get it to do a 5×5 grid for me, which is what I’m currently using most.
Color Balance
Not sure about settings for “white balance” and “input color profile”
and “output color profile”. The model I’m familiar with from Bibble
and Photoshop involves a “working space” and then using the tagged
input space (or specifying if not tagged, but with my cameras that
never happens).
Docs say the white balance module has a “temperature in” slider, but it
doesn’t; it has a “temperature” slider, and tint, and r, g, and b.
And that “temperature” slider seems to run up to 30,000K, an extremely cold color balance.
And things jump around at random a lot, often leaving me with an
intense green color balance.
White Balance
The “flash” preset sets the color temp to 3965K. Daylight is 3556K. Daylight and flash are normally 5500K in the world I come from.
Exposure
The exposure slider has a huge range, going out to 18EV. This makes it very hard to work with. Possibly becoming more comfortable with the right-click features of the slider would help here, however (making the actual slider kind of a secondary control).
Example Images
Derby

I’m pretty happy with the noise reduction here. I may have taken it a small step too far, but it was also interacting with attempts to sharpen the not-quite-perfectly frozen heads.
Dr. Mike

Again, this is primarily a noise reduction problem. This image was shot at ISO 1600 on a Fuji S2 (and saved as jpeg, not raw). The fact that it’s a jpeg original partly explains my not trying too hard to rescue the clipped whites on the shoulder.
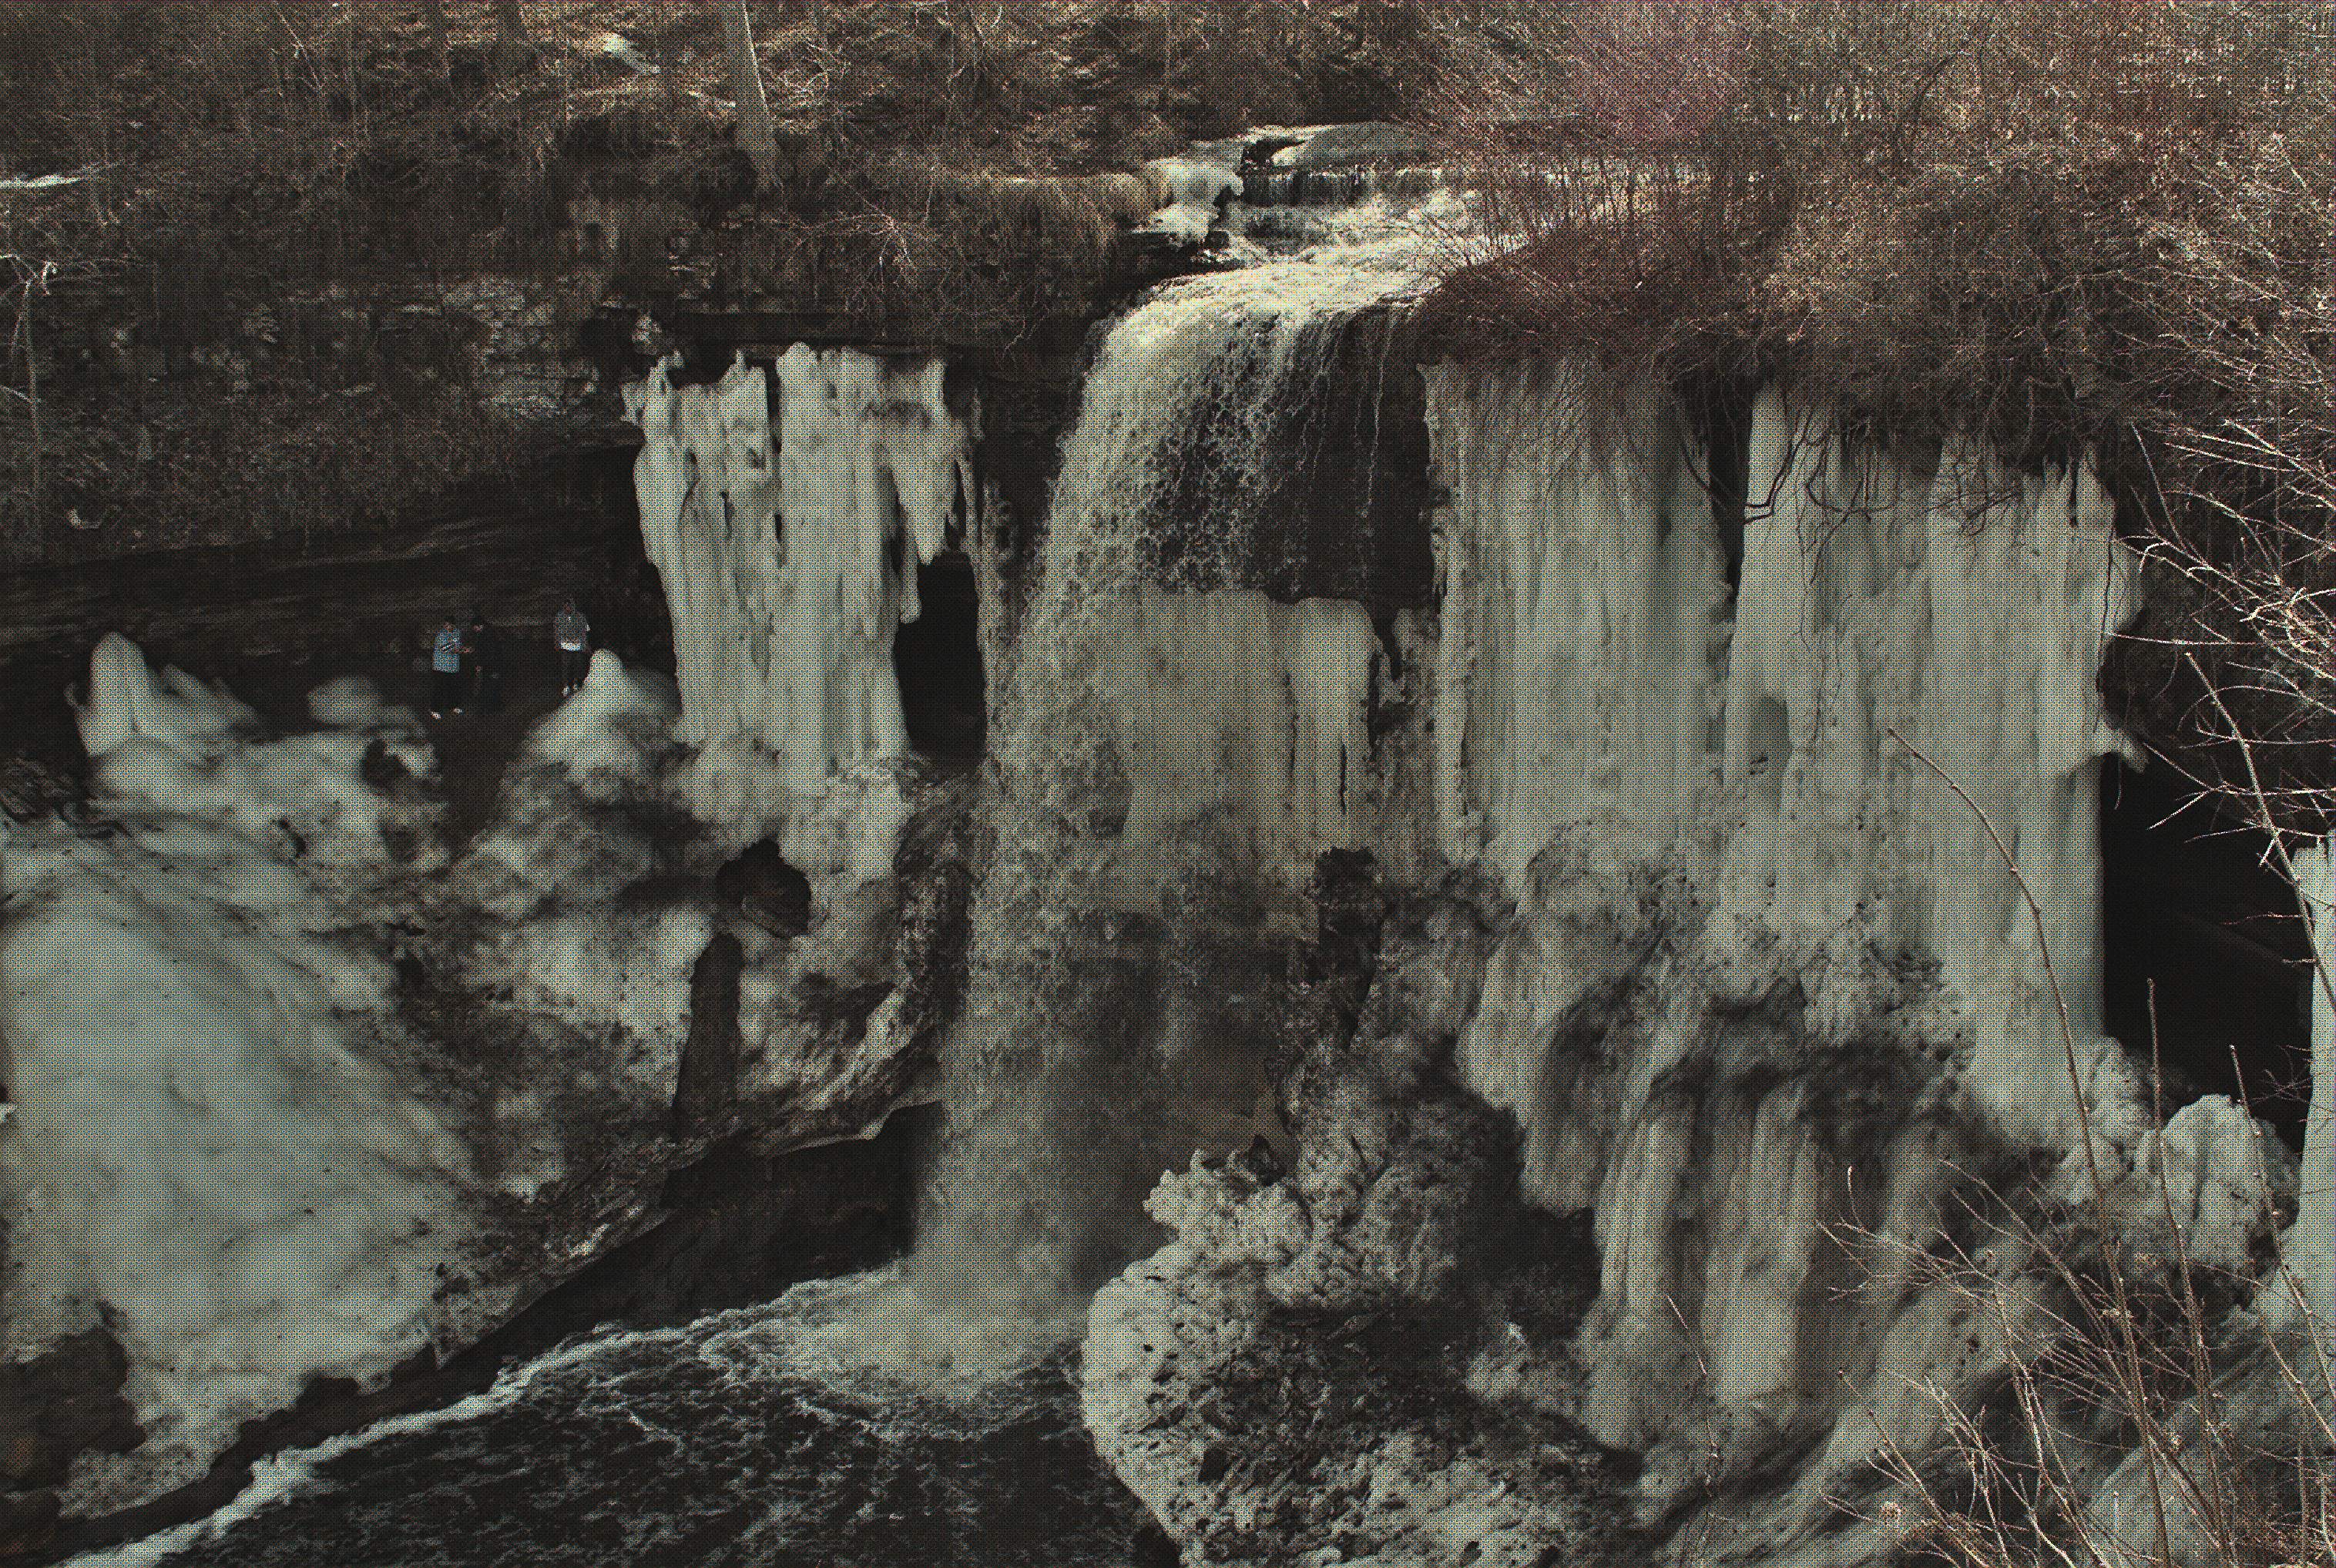
Minnehaha
This one is a technical failure. Converting Fuji S2 RAW files, even via DNG, doesn’t work usefully in Darktable. The artifact grid also really messed up the jpeg compression, so even the “full res” version is a rather low quality jpeg file.
Naomi

This image may be too easy to show much. But at least it shows that a good final version can be produced.
Purple Flower

This may be the least successful edit I did with Darktable.
Smith Books

This worked about as well as anything else at rescuing some of the overexposed areas. (Remember, the overall exposure was such as to guarantee some areas that remain overexposed; thus it looks like crap.)