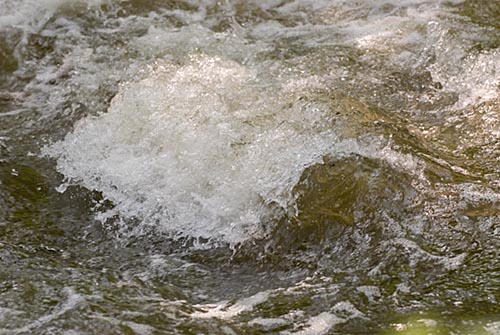
These aren’t any sort of organized presentation of the curves tool, but sometimes I feel like it might be useful to document how I work with it, and what I can accomplish. So here’s another example of “photo prep” (an annoying term, but “printing” as we used to call it is all wrong today, and “Photoshop” is of course just one product).
The exposure on this was good to begin with. Raw conversion (in ACR) didn’t do that much, just took the exposure down about 3/4 of a stop, moved the black point up, and increased brightness. That’s what the “original” of this pair is. (Mouse-over the photo to switch to the edited version; that uses Javascript, sorry.)


This was all one curves adjustment. The two points circled in blue expanded the range of the white water in the wave crest. The point circled in green prevented the lower tones from being pulled strongly downwards. And the point circled in violet increased the drama by darkening the shaded inside of the wave.
This photo was inspired by one by guppiecat.