Printing? Who cares about that any more? Don’t we all just look at our photos on the screen?
Yeah, well, too much of that is true; a lot of photos both look better, and get looked at better, if you make a good hardcopy. However, that’s not what this is about, so don’t worry.
What I’m on about here is the use of Photoshop or similar tools to prepare an image for presentation. Not fancy stuff, and not stuff that takes time — 5 minutes. Or 2 minutes. Not fancy retouching, not retouching at all, just some little curves adjustments, and maybe, maybe, a simple mask.
With a little practice, those 5 minutes will make your pictures really stand out from the competition.
Furthermore, this isn’t so much a how-to, as a why-to. I’m going to try to sell you the idea by showing you a batch of pictures that I did this kind of minor work with. I think that’ll make my point.
There are some nice examples of more extensively adjusted photos here. The information about how they were produced is based on Picture Window Pro rather than Photoshop.
For each image, the basic display is the file out of raw conversion, sized and sharpened. Then, when you put your mouse over the image, it switches to the edited version. This is JavaScript-based, sorry about that; I think seeing the image change before your eyes is the most convincing way to make my point here.

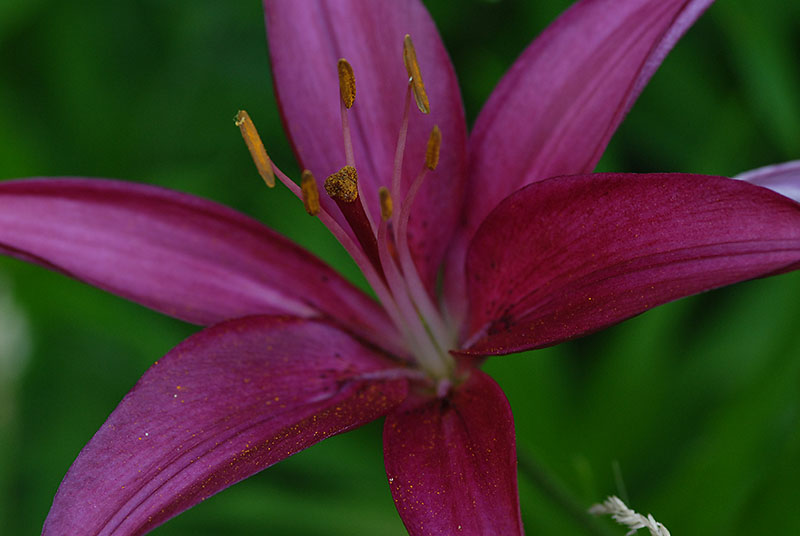
This is actually one of the most complicated edit jobs in the collection; this is two curves adjustment layers with layer masks. One brightens up the sexy bits, and one lightens up the green background.

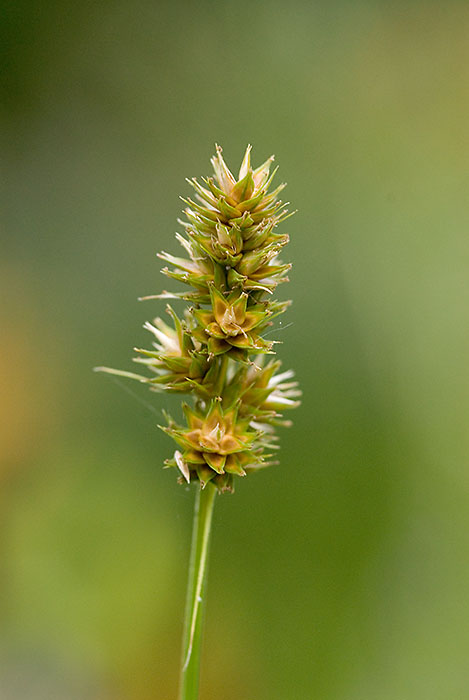
This is really simple; all I did was burn the edges in a bit.

This is a good example of the power of curves. The only edit I made here is a curves adjustment. Here’s the curve:
