Since Picture Window Pro and Photoshop have made it relatively easy for me, I’ve been sometimes making perspective corrections even in relatively casual snapshots. Mostly I just fixed keystone, but the example I have here from today uses all the controls, including lens distortion. I corrected this photo using the “lens correction” filter in Photoshop CS2 (it’s under “distortion” on the filter menu).
Here’s the photo I used in the article: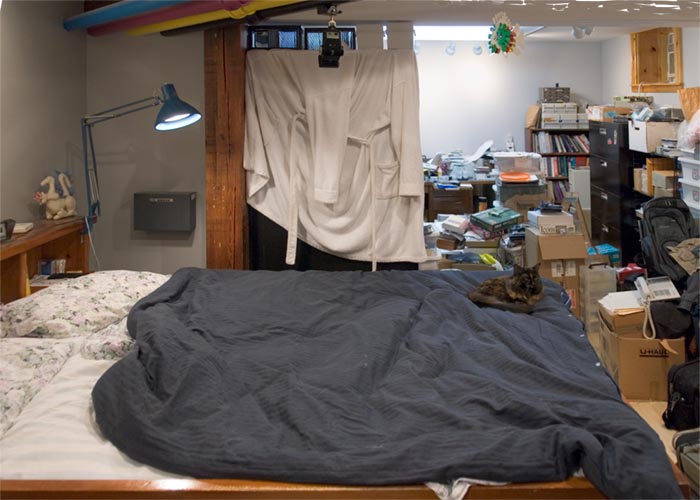
But here’s the photo I actually took: 
There are drawbacks, of course. I get a narrower effective angle of view (and to get what I did, I had to fill in some of the ceiling at the upper right in the corrected photo). It takes some work.
Here’s what I did. First, I played with rotation, then vertical perspective, then rotation again, then horizontal perspective. Then I did some barrel correction (I’m not sure it’s all the lens, I think that side of the bed actually does bulge out a little, so I may have over-corrected). I even poked at vignetting, though the corners didn’t really look dark. 
Then I had to crop it to a rectangle, for my purposes. 
And then fill in the space at upper right, but no screen-shot for that.
Is it worth it? Well, I still sometimes feel it is.