I was already a Picturecode customer with their Noise Ninja application and Photoshop plugin, which I’ve been using for a long time now, and which is still arguably one of the leading noise reduction tools. Now they’ve released a raw processor (and organizer; more on that later) that I would call a direct competitor to Aftershot.
I’ve used Photo Ninja through Fourth Street Fantasy Convention weekend, for my lightning pictures, convention pictures, and a Minnehaha Falls trip the next Tuesday, in addition to the test photos I ran through everything.
I found Photo Ninja produced particularly good renderings of my images, with less effort than the other products. The “smart lighting” feature does a great job of making good-looking proofs nearly painlessly the vast majority of the time. And it’s easy to take control when the automation is going astray, as all automation does now and then.

Specific Issues
Responsiveness
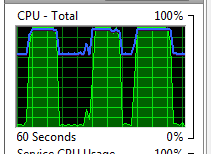
While performance is good overall, and it makes good use of my four cores, it takes inconveniently long to update the image previews when I adjust some control. Since the normal workflow consists almost entirely of shoving controls around to see how I like the resulting look, this is a problem. I can generally see individual image tiles being updated, meaning I don’t get the quick snap from one version to another that’s needed to make it easy to decide which one looks better.
UI Sliders
There doesn’t seem to be a way to use mouse roller or arrow keys to adjust a numeric box controlled by a slider (you can, at least, type in a value). Again, this is something I use all the time, and would miss really badly.
Free rotation
I can’t find a tool to give stepless image rotation dragging the image. There’s a slider that gives me ±45°, and buttons for 90º increments (weirdly hidden in the “view” menu!), but no way to just turn the damned thing until it looks right.
Cropping
I was able to get 3×3 and 5×5 grid lines in the crop tool easily enough, which I find very valuable.
It took me unreasonably long to finally recognize it, but the “constrain to original boundary” checkbox, clear by default, is how you make the cropping boxes stop at the image edges. I think this should be on by default. While you sometimes want to go beyond the edges, much more commonly you don’t. It does seem to retain the way I had last set it, at least.
Color Info Panel
I didn’t find any tool to report the color component values of the pixel at the cursor. I use this a lot in other products to evaluate color correction settings. I think every other product has this in some form.
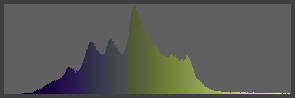
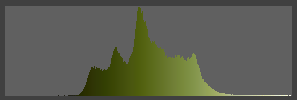
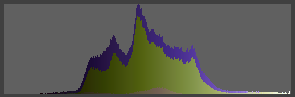
Histograms
There are something like 11 modes available, and they aren’t described anywhere. Only a few of them seem at all obvious, and the shapes they make differ considerably from each other.
Here are a few of the interesting examples:


Help
The help does not seem to have any sort of help function, which has made it extremely annoying to try to figure a lot of things out.
Curves Tool
That is, lack thereof. Often it’s really effective to use the visual curve editor to apportion the brightness range between the density ranges that have important content, and there’s no way to do that right now.
Changing rating, color, or selection in editor mode
You can change those things on the film strip, but you can’t change them on the actual editor screen, which is very annoying. I’m frequently making my final ratings, and using colors to sort out image sets, while also making adjustments (when I’m seeing close to the final forms of the photos), and I have to go down, wait for the filmstrip to auto-de-hide, and then find the thumbnail for the current photo, and verify I have the right one. And the absence of that information from the screen makes it easier for me to forget to think about it, too.
Screen Layout
I can’t move things around the screen. I can make the film strip auto-hide in editor mode, and even the left panel, but I can’t move the film strip to the side.
With the triumph of the wide-screen monitor, it has become a capital offense to put anything permanently at the top or bottom of the screen. Vertical screen space is the scarcest resource on my computer, so anything that can possibly be moved to a secondary monitor or at least put to the sides, has been. But that film strip goes at the bottom, with the only option being to auto-hide it.
Rendering Settings
The really annoying issue is that you can’t pick the pixel dimensions to render in. PictureCode tells me they will of course have that eventually, at least. It’s a real pain now, though. When I need to render to given limits for a web gallery (or to arbitrary client requirements), I can’t in Photo Ninja.
Merging RAW and Jpeg
This is controlled by an option on the browser screen, rather than a central preference. That’s probably a good choice; I imagine some people would want to access the jpegs a lot more often than I do, and with merging selected they’re not very accessible. I got confused a few times, not thinking of the option being there, but that’s my learning curve issue. And a number of the other products don’t support it at all.
Ratings
In the browser display, the thumbnails have neatly centered rows of round dots (not actual stars) representing the star ratings. Unfortunately, they’re not located at the spots where you click to change the star ratings. If you put your cursor near them, a red box appears delimiting the area the ratings levels appear in, and the ones currently set move over to the left. This strikes me as a triumph of design over user experience—it looks better with the ratings dots centered over each thumbnail, but it misdirects my aim each time I go to try to change one.
This is also true on the film-strip.
Filtering
There’s no way to filter the images displayed in browser mode. I use this all the time, and no, sorting is not an alternative (it separates things that I need to compare to confirm that my ratings are correct, or to fix my ratings). I need to be able to filter by rating, color, and selection, in combinations. I would also like to have filename wildcard filtering in there too.
Come to think of it, I’d like to include the green dot (it means I’ve made adjustments to the image) in filtering as well. The green dot is more visible than many ways to flag that, and it’s a very good idea.
Example Images
Derby
A roller derby action image, shot at a long focal length by available light and hence at high ISO (6400) to get the high shutter speed necessary.

 Dr. Mike
Available light at Minicon in 2003. Shot with my Fuji Finepix S2, so even ISO 1600 was pretty serious.

The big challenge was noise reduction, especially since parts of the face are deeply enough shadowed to be pretty worst-case. And Photo Ninja really ought to have good noise reduction, so it was worth playing with.
I tried none, color noise only, and luminance plus color noise (plus played with the controls on each setup). Here are the screenshots of those:


 Minnehaha
Sun off the white water at the top of the falls, plus the face being in shadow, made this something of an exposure problem, meaning that the shadows got pulled forward a lot in processing.
Photo Ninja got strikingly better results with the sunlit water than I’ve managed elsewhere.

Naomi
This one as mostly easy; just a little cropping, and increasing brightness in a picture where most of the colors are dark.
Purple Flower
This is from an Olympus EPL-2 raw file (“.ORF”).

Doc Smith Books
This is an artificial highlight recovery test. Photo Ninja doesn’t seem to have done a lit better than other processors, which is interesting given how big a difference there is in the Minnehaha picture.

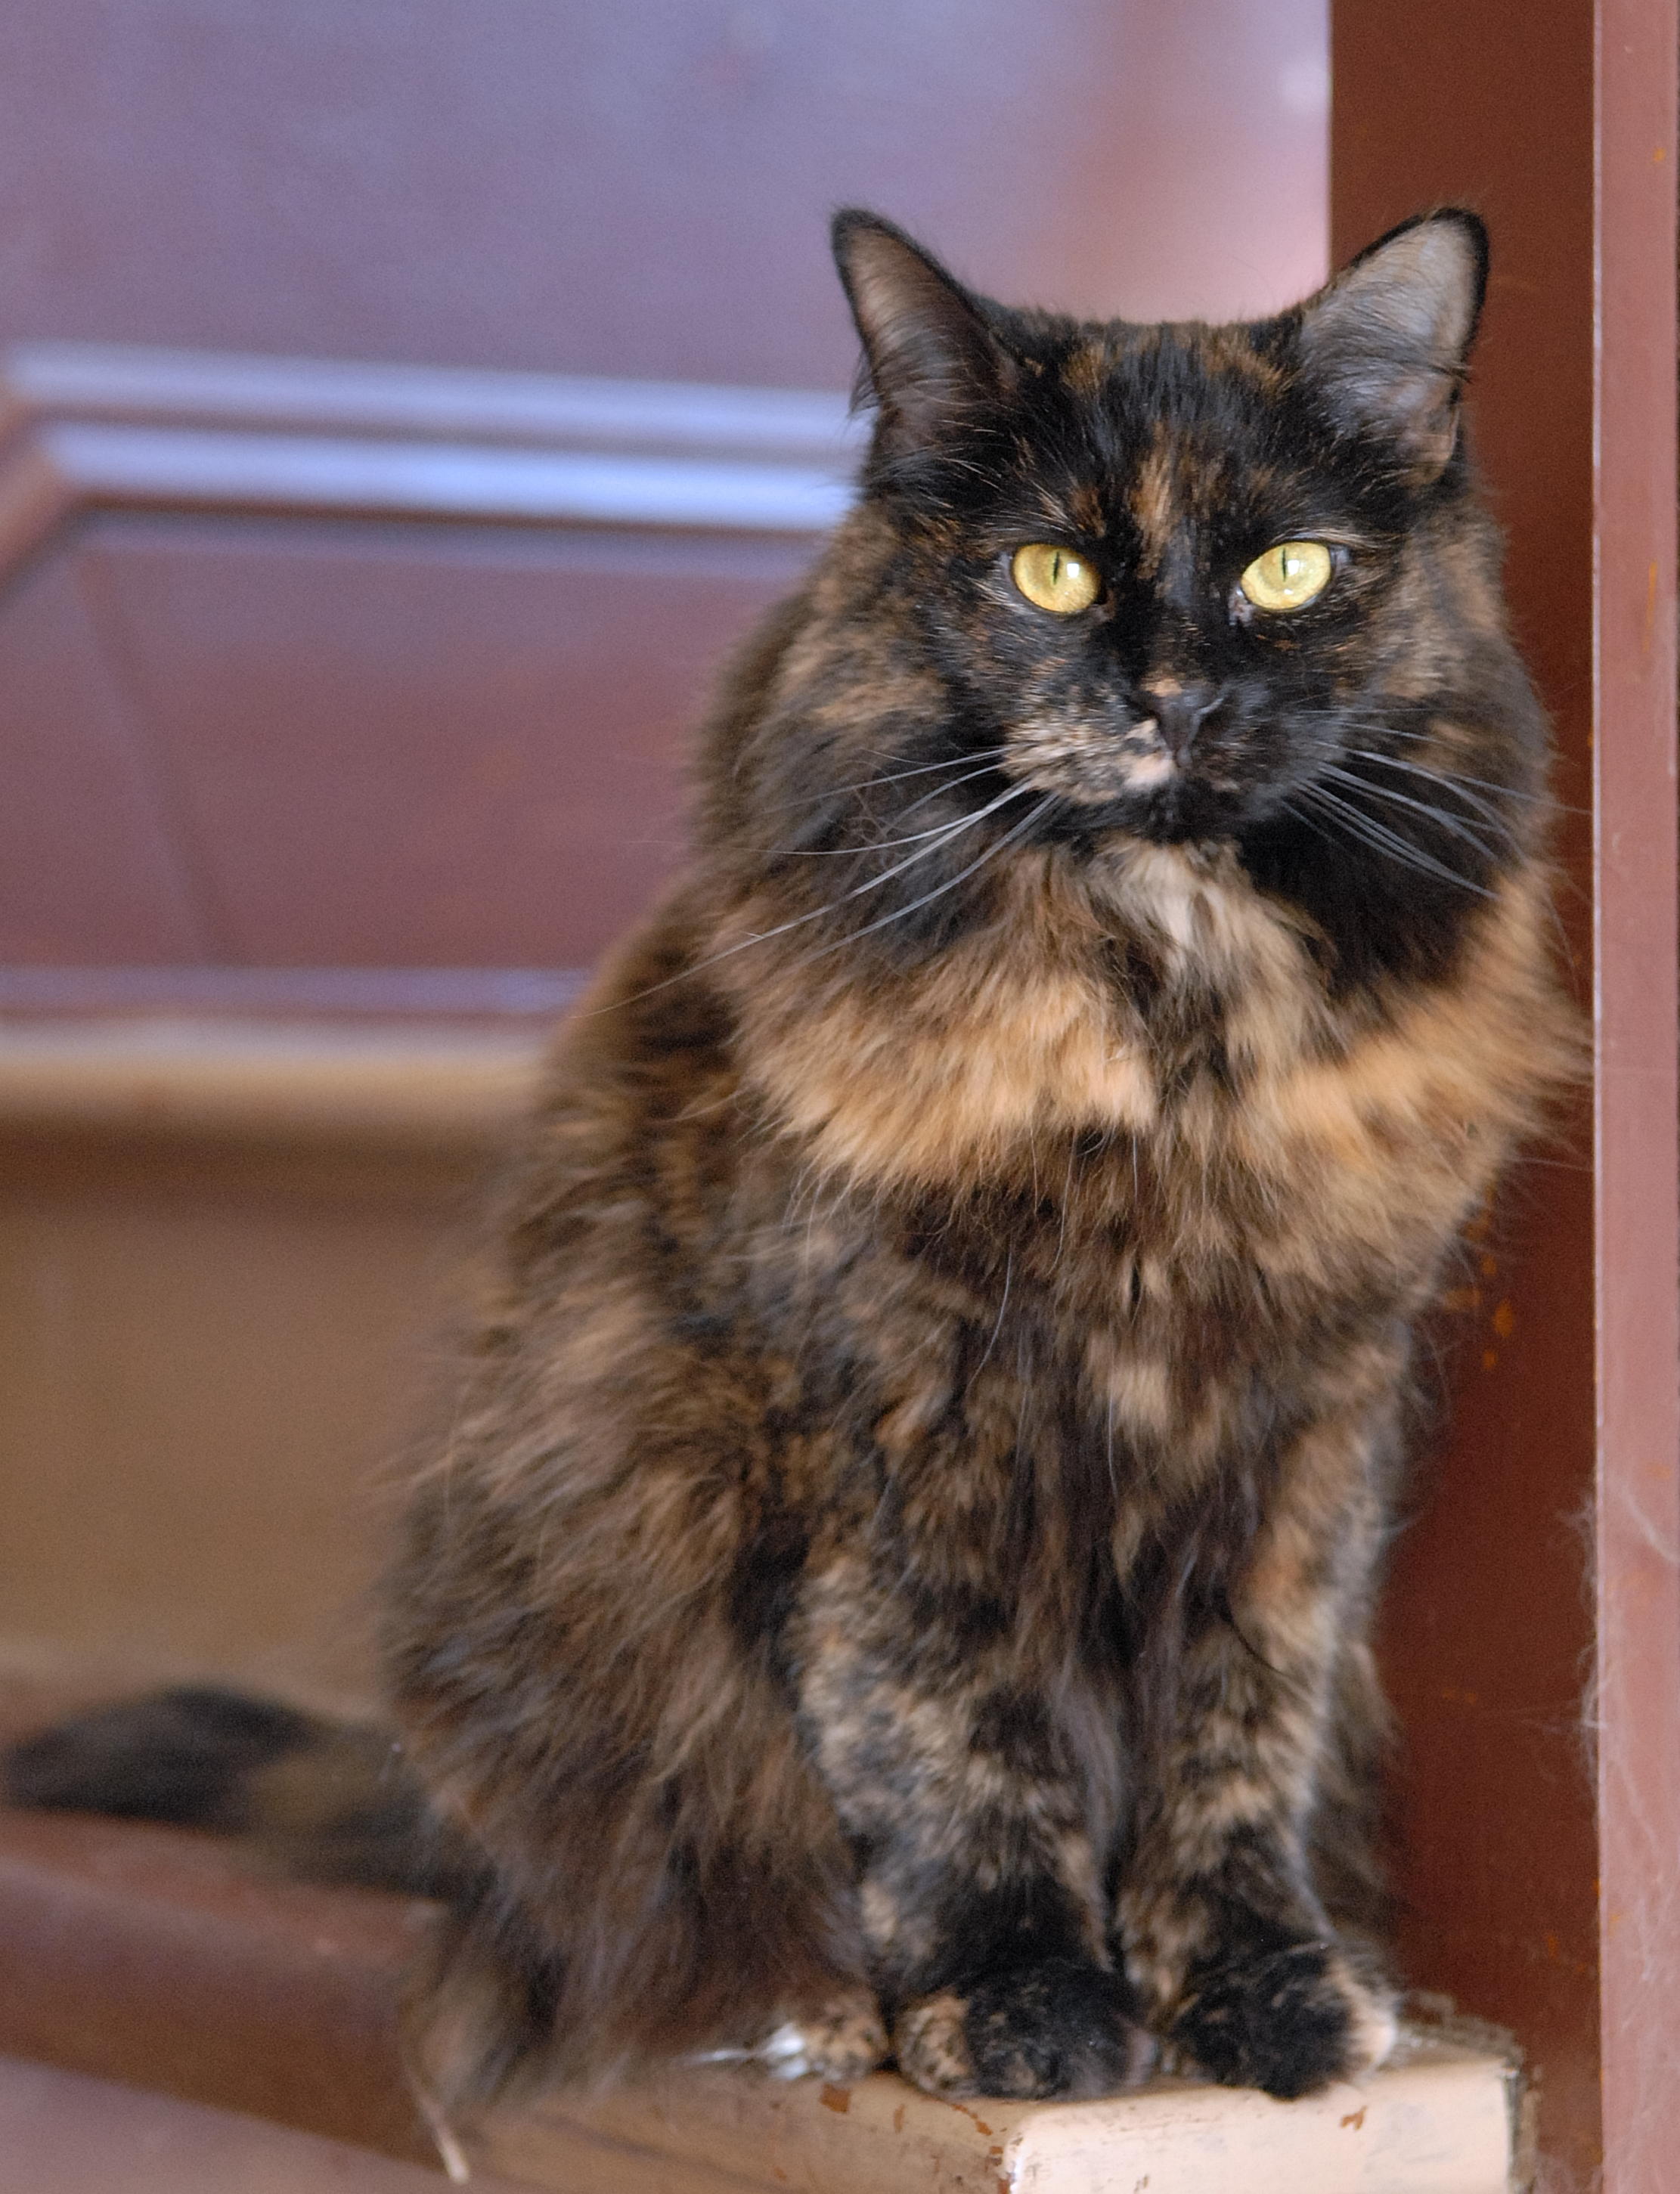
Tux Cat
This started from a Fuji Finepix S2 raw file, so I had to rotate it 135º to get it to this orientation. The density and color correction were trivial.
